Tjeneste-oppgradering: Følg linken for nærmere status vedrørende migrering, for generelle spørsmål og svar se vårt hjelpesenter.

Configure SpamAssassin and Spam Box in cPanel


EXPERIENCING PROBLEMS WITH OUR SERVICES? RUN A DIAGNOSE FIRST TO SAVE YOURS AND OUR TIME

Added: 10.03.2014 23:26:29     Last updated: 18.07.2019 13:22:49

This guide explains how to configure SpamAssassin and Spam Box in cPanel.

This guide requires you to first log into cPanel.

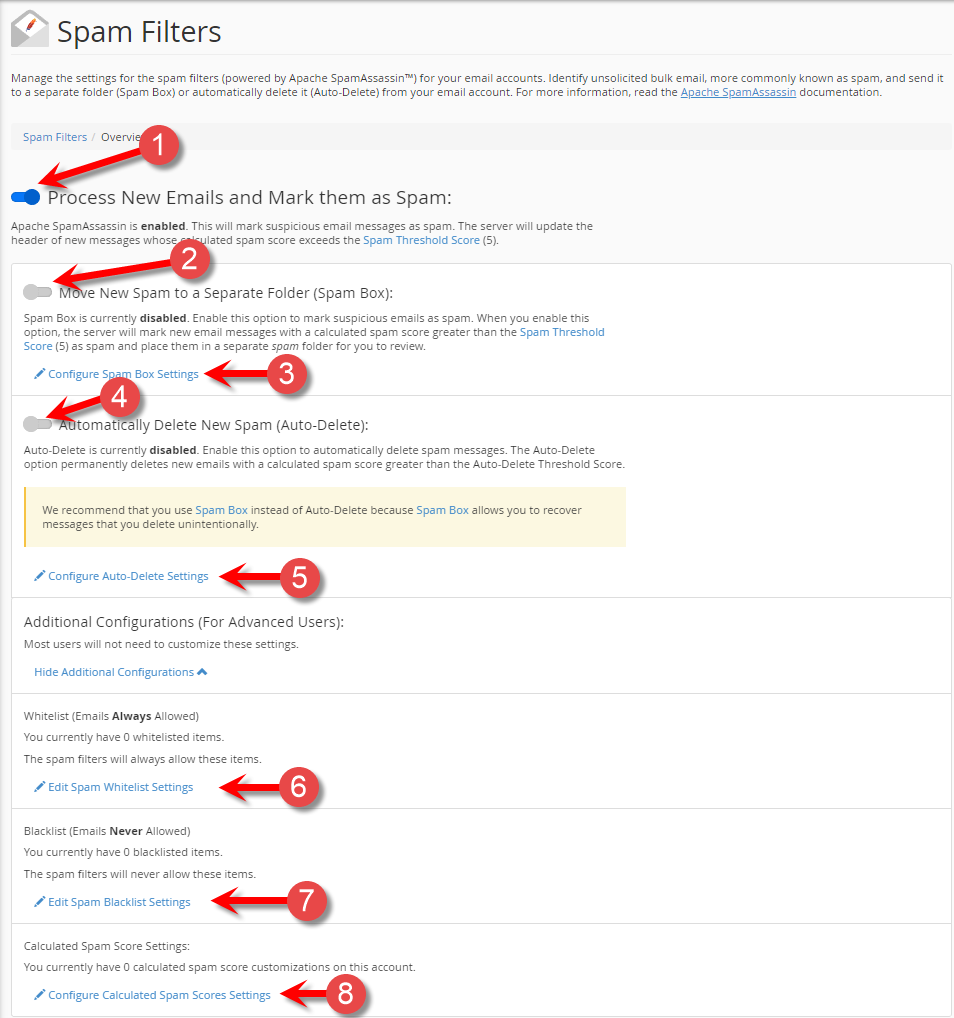
SpamAssassin is an automated email filtering system that identifies spam based on the content of the emails. Emails that get marked as spam can also automatically be filtered into a separete folder called "Spam Box".
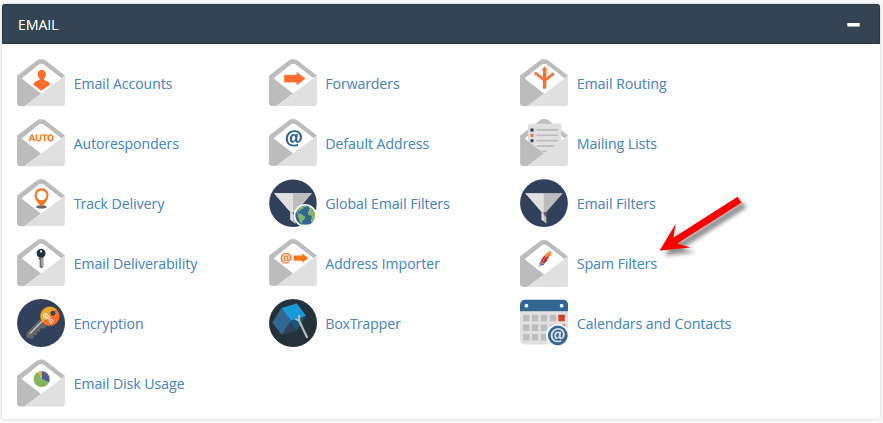
Step 1:
Click the icon for "Spam Filters" as shown below:

Find Spamassassin spam filter in cPanel


Step 2:

  1. Click "Process New Emails and Mark them as Spam" to activate the spam filter. When the filter is active, emails that are recognized as spam will be marked with **SPAM** in the email title and get passed through to your email client / webmail like normal.
  2. If you choose to activate Spam Box by clicking "Move New Spam to a Separate Folder (Spam Box)" all email that gets marked as spam will be placed into a separate IMAP-folder instead of getting through like normal. To view these emails you either have to:
    • Go to the "spam" folder in the webmail.
    • Find the "spam" folder in your email client and subscribe to it so you can see the contents. This requires you to have set up your account with IMAP as it will not work with POP3.
  3. Click "Configure Spam Box Settings" to manage and empty the spam-box.
  4. Click "Automatically Delete New Spam (Auto-Delete)" if you want email marked as spam to get automatically deleted. You will not have the opportunity to review the emails that get deleted if this function is active, and emails will not be put in the spam box even if that function is active.
  5. Click "Configure Auto-Delete Settings" to adjust how high the spam score has to be before emails are automatically deleted.
  6. Click "Edit Spam Whitelist Settings" to manage the whitelist. Emails from addresses on the whitelist will never get marked as spam by SpamAssassin.
  7. Click "Edit Spam Blacklist Settings" to manage the blacklist. Emails from addresses on the blacklist will always get marked as spam by SpamAssassin.
  8. Click "Configure Calculated Spam Scores Settings" to adjust the rules for the spam score set by SpamAssassin.
Aktiver SpamAssassin i kontrollpanelet (cPanel)


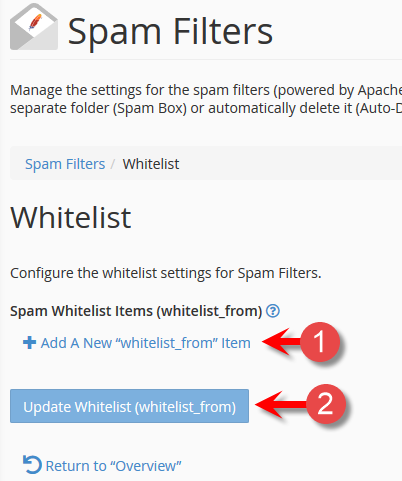
Managing the Whitelist
Emails from addresses on the whitelist will never get marked as spam by SpamAssassin. To add an address to the whitelist:

  1. Click the plus-icon and write an email address in the field that appears.
  2. Click "Update Whitelist (whitelist_from)".
  3. To go back to the main SpamAssassin configuration page, click the Return to "Overview" link.
Administrer SpamAssassin hvitelisten


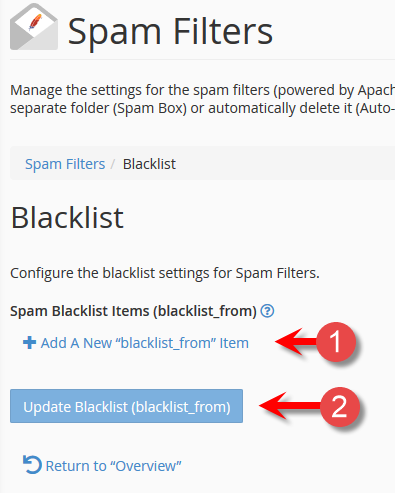
Managing the Blacklist
Emails from addresses on the blacklist will always get marked as spam by SpamAssassin. To add an address to the blacklist:

  1. Click the plus-icon and write an email address in the field that appears.
  2. Click "Update Blacklist (blacklist_from)".
  3. To go back to the main SpamAssassin configuration page, click the Return to "Overview" link.
Administrer SpamAssassin svartelisten


Finished
We have now been through how to configure SpamAssassin and the Spam Box in cPanel.