None found
Your search returned no hits.
95% of all problems already have a solution in our knowledgebase

Added: 10.03.2014 23:26:29 Last updated: 19.04.2018 09:22:38
This guide explains how to create an email account in Microsoft Outlook 2010. We assume that you have installed Microsoft Outlook 2010 on your PC and that you have not set up any email accounts previously.
We recommend that the email account be set up using IMAP instead of POP3, so that the emails will remain on our server instead of being deleted when they are downloaded. For this reason, this guide will show how to create the email account using IMAP.
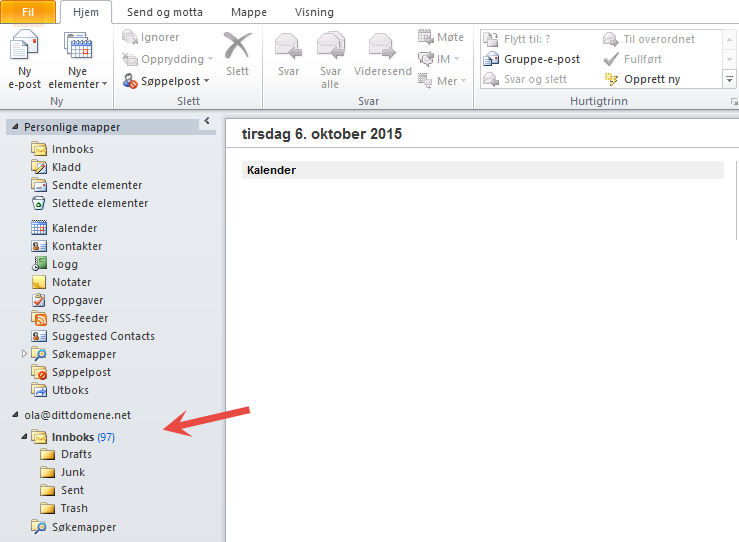
To set up email in Outlook 2010, you must use the values supplied below. Exchange these values with the values valid for your email account with PRO ISP. In this example, we used ola@dittdomene.net as the email address with a specified password.
For the inbound and outbound email server, you should use cpanelX.proisp.no as the server name if you are using SSL (recommended). The X should then be exchanged for the number of the PRO ISP server on which the email account is configured. If you do not use SSL, you can also use mail.dittdomene.net, where dittdomene.net must then be exchanged for the domain for which you wish to configure the email account in Outlook 2010.
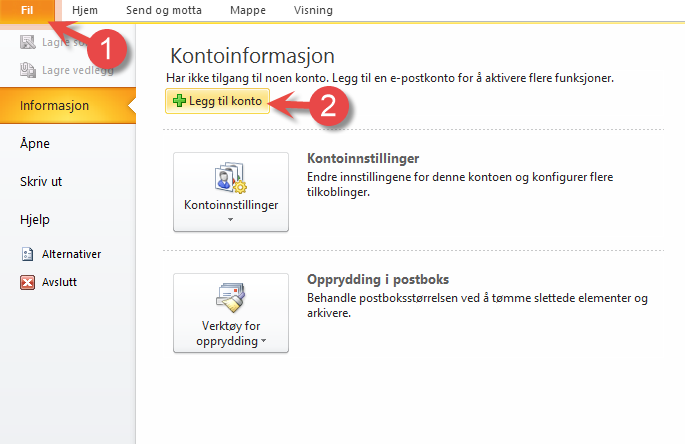
Step 1:
Step 2:

Step 3:
A new window will now appear, warning you about the certificate. Click "Yes".

Step 4:
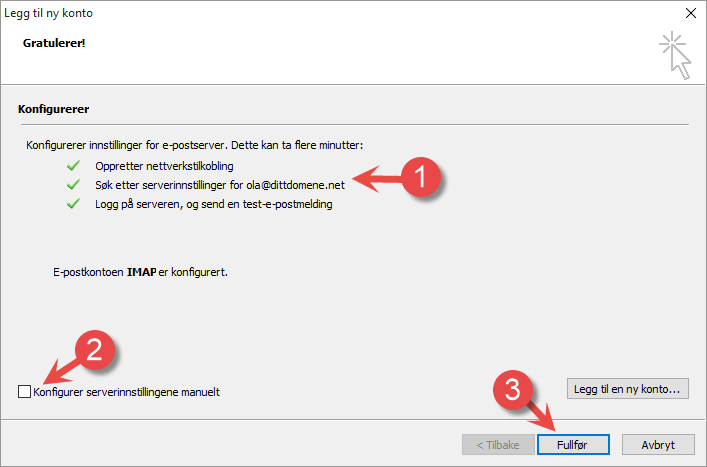
Step 5:
If Outlook is not able to find the correct server configuration automatically, you must perform the configuration manually.

Step 6:
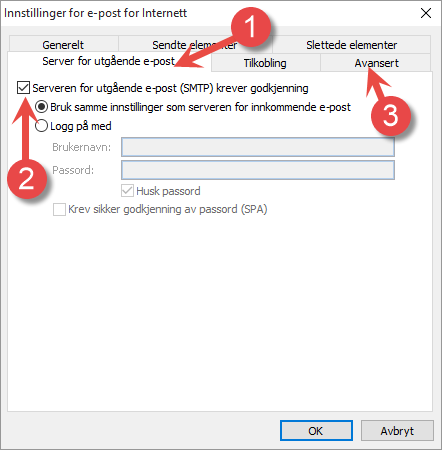

Step 7:
Outlook now has all of the necessary information, and it will suggest to synchronize with the server and send a test email.
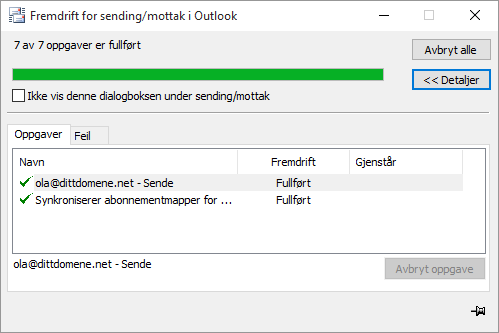
Step 8:
The email account has now been added, and it can be used for sending and receiving email from Outlook 2010.
Done
We have now been through the steps required for setting up an email account in Microsoft Outlook 2010.