None found
Your search returned no hits.
95% of all problems already have a solution in our knowledgebase

Added: 14.09.2021 13:23:41 Last updated: 16.09.2021 09:17:47
This guide shows how to set up the Microsoft Outlook app to send and receive emails connected to our web hosting.
NOTE: The producers of android-based devices often have their own visual presentation for icons, text and descriptions. These may diverge from the guide, but the technical content is still the same.
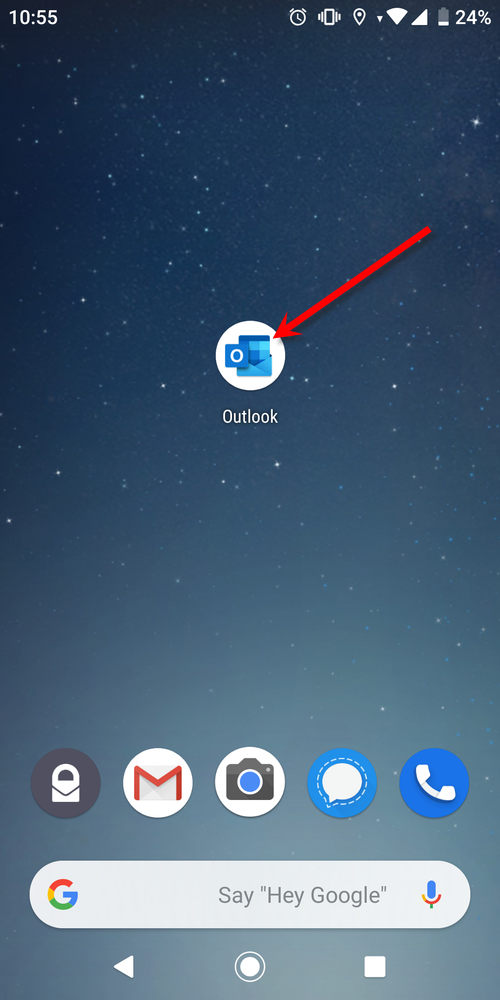
Step 1:
Open the Outlook app.
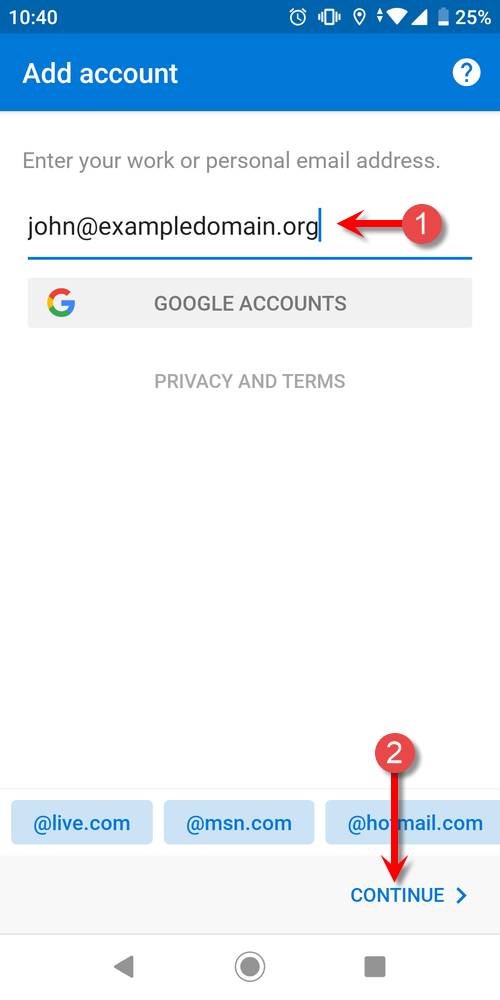
Step 2:
Input the e-mail address to be connected and press "Continue".
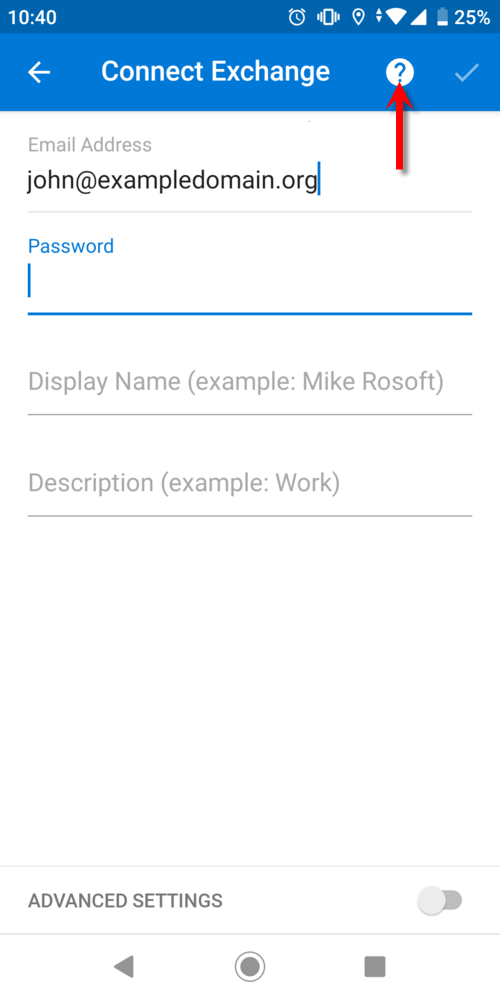
Step 3:
If the top blue line says "Connect Exchange", press the question mark icon on the top line of the app.
If it instead says "Connect IMAP", skip ahead to step 6 in this guide.
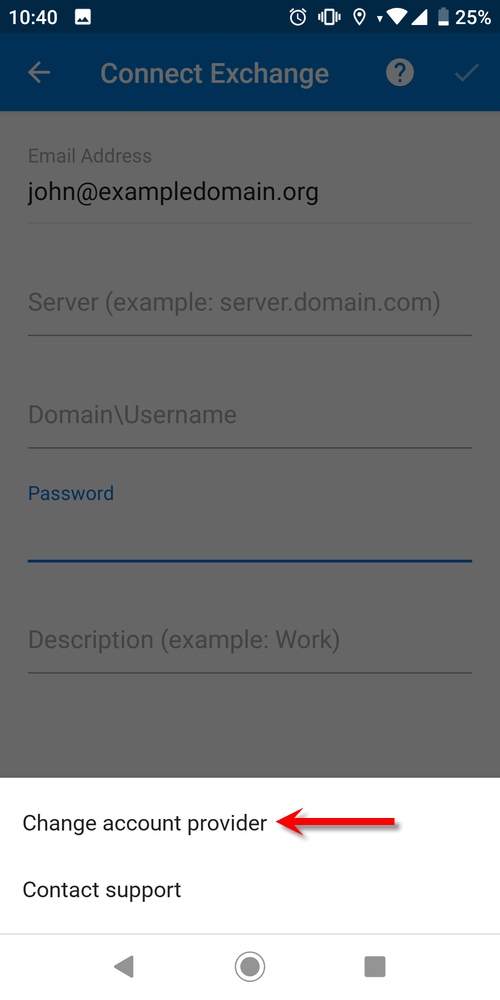
Step 4:
Press "Change account provider".
Step 5:
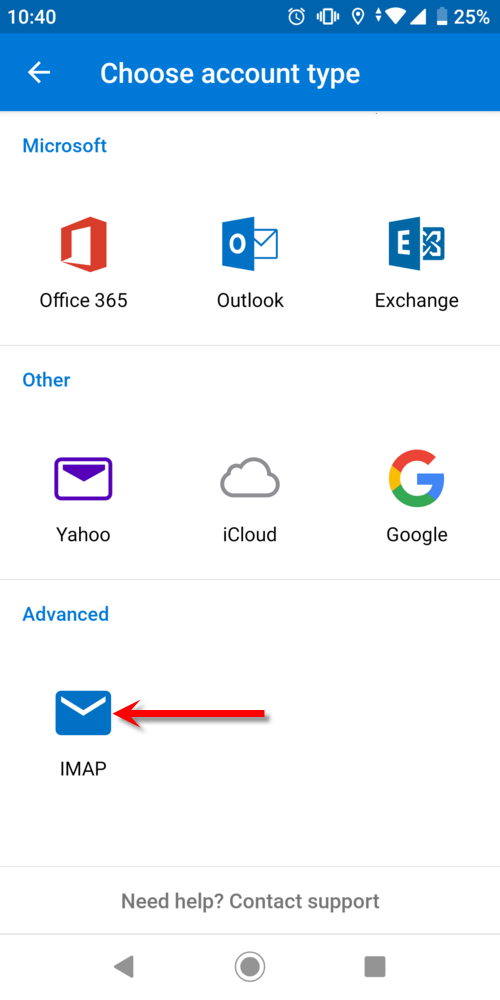
Choose IMAP.
Step 6:
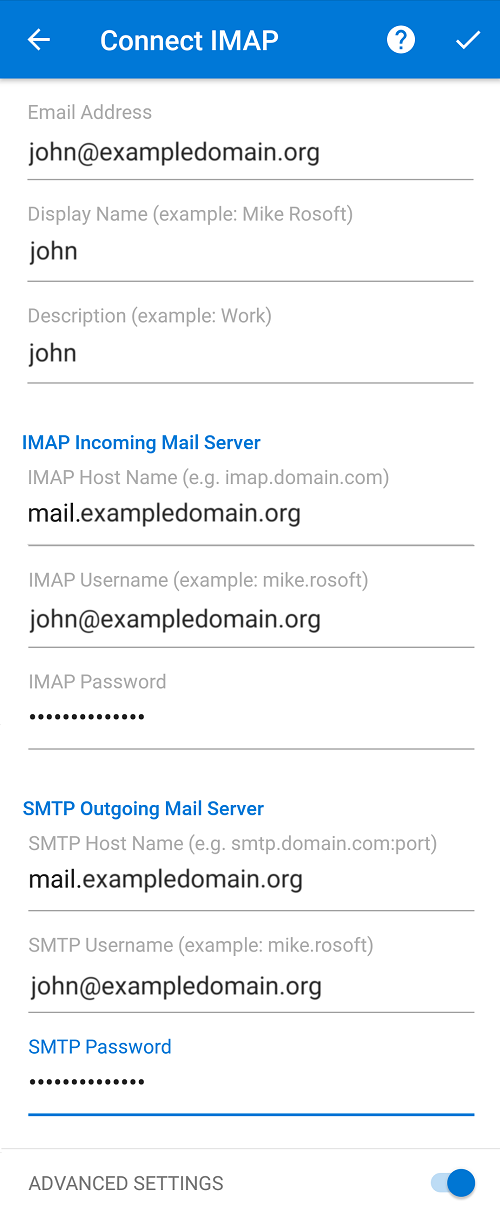
Input the connection details for the email account. Note that the username for both IMAP and SMTP is the full email address.
The IMAP and SMTP password fields must be filled out with the password belonging to the email account.
Press the checkmark icon in the upper right hand corner.
Step 7:
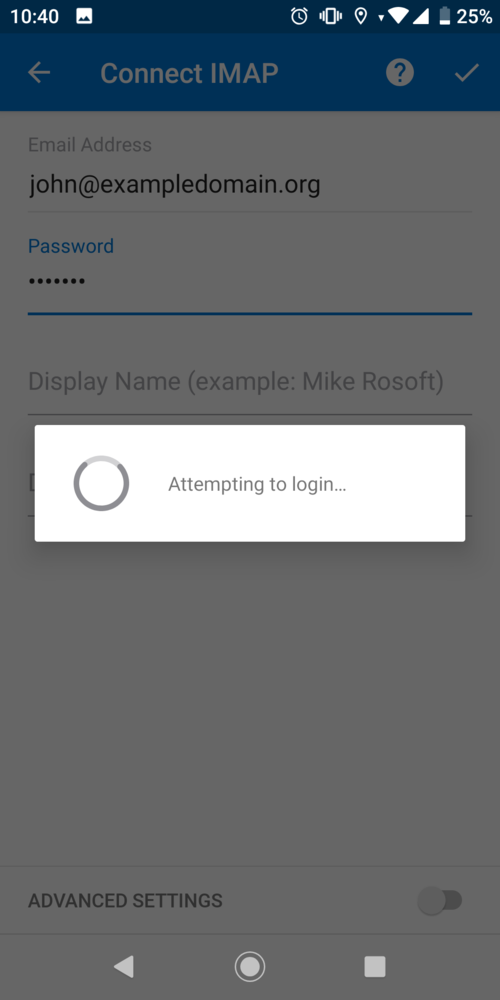
Outlook will now attempt to connect to the e-mail address. If the e-mail address and password are input correctly the account will be connected and the device will be able to send and receive e-mails.
Finished:
We have now been through how to connect to an e-mail account on our web hosting using the Microsoft Outlook app for android.